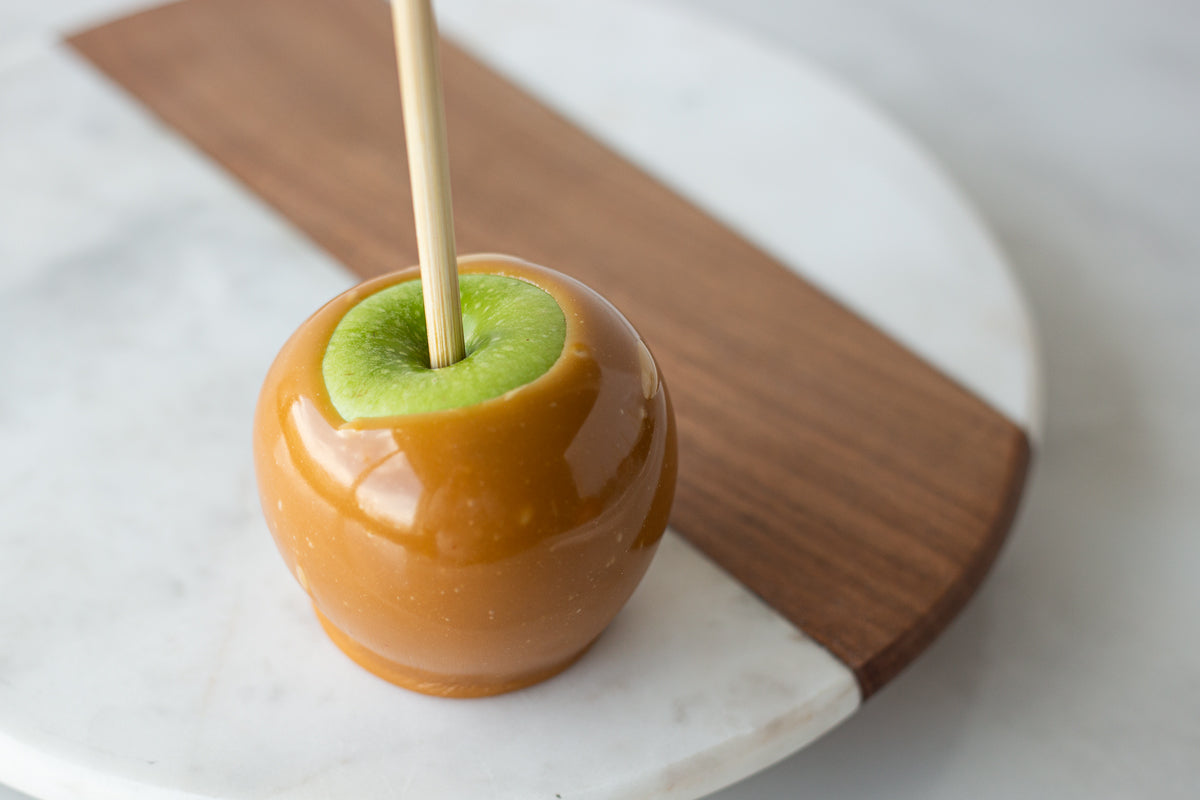
There’s something special about a crisp apple covered in rich, buttery caramel. Whether you're making caramel apples for Halloween, a fall party, a family activity, or just because you love them, the right caramel and a few simple techniques can make all the difference.
Peter’s Caramel makes it easy to create smooth, delicious caramel apples at home. Instead of unwrapping dozens of individual caramels or making caramel from scratch, you can melt a Peter’s Caramel loaf and start dipping.
In this guide, we'll show you how to make caramel apples with Peter’s Caramel, including how to prepare your apples, melt the caramel, dip the apples, add toppings, and avoid common caramel apple problems.

What You Need to Make Caramel Apples
For approximately 20–25 medium caramel apples, you'll need:
- 1 5-pound loaf of Peter’s Caramel
- 20–25 medium Granny Smith apples
- Caramel apple sticks or skewers
- Parchment paper or a silicone baking mat
- Heavy-bottomed pot or Dutch oven with a lid
- Candy or instant-read thermometer
- Your favorite toppings, if desired
A 5-pound loaf of Peter’s Caramel can cover approximately 20–25 medium apples, depending on how thickly you coat them.
Granny Smith apples are a classic choice because their tart flavor pairs especially well with sweet caramel. You can also experiment with other firm, crisp apple varieties.

How to Make Caramel Apples With Peter’s Caramel
1. Choose and Prepare Your Apples
Start with firm, crisp apples.
Wash the apples thoroughly and remove any waxy residue from the surface. This step is important because caramel can have difficulty adhering to a very waxy apple.
Dry the apples completely before dipping.
Any moisture left on the surface can interfere with the caramel coating.
If your apples have stems, remove them and replace them with caramel apple sticks or skewers.
2. Chill the Apples
Place your prepared apples in the refrigerator until you're ready to dip them.
Cold apples can help the caramel set more quickly after dipping. However, keep in mind that very cold apples can also cool the caramel faster while you're working.
For that reason, it's helpful to have everything prepared and ready to go before you begin dipping.
Important: Don't insert the sticks too far in advance if you're storing the apples. The puncture point can release moisture from the apple, which may affect the caramel. Gygi recommends inserting the skewers when you're ready to dip.

3. Melt the Peter’s Caramel
There are two convenient ways to melt Peter’s Caramel: the oven or the microwave.
Oven Method: Best for a Full 5-Pound Loaf
The oven method works particularly well when you're making a large batch of caramel apples.
-
Place the Peter’s Caramel loaf in a heavy-bottomed pot, Dutch oven, or cocotte.
-
Cover the pot with a lid.
-
Place it in a 200°F oven.
-
Allow the caramel to melt for approximately 2 hours.
-
Once melted, stir the caramel gently to incorporate any film that may have formed on top.
Try not to over-stir the caramel. Excessive stirring can introduce air bubbles, which may show up on your finished caramel apples.
Microwave Method: Best for Smaller Batches
If you're only making a few caramel apples, you don't need to melt the entire loaf.
Cut off the amount of caramel you need and place it in a microwave-safe bowl.
Heat the caramel in 30-second intervals, stirring between each interval, until it is smooth and melted. Keep a close eye on it because caramel can overheat quickly.
What Temperature Should Caramel Be for Dipping?
For dipping caramel apples, aim for approximately 160–180°F.
Try to avoid heating the caramel above 190°F, which can cause it to burn or become too firm once it cools.
Use a thermometer to monitor the temperature rather than relying only on appearance.
4. Prepare Your Dipping Station
Before you start dipping, have everything within easy reach.
Place parchment paper or a silicone baking mat on your work surface. Have your apples skewered and your toppings ready.
If you're adding chocolate or toppings, prepare those before you begin dipping so you don't have to stop while the caramel is setting.
A good dipping station might include:
- Melted Peter’s Caramel
- Prepared apples
- Parchment paper
- Chocolate
- Chopped nuts
- Sprinkles
- Mini marshmallows
- Pretzels
- Sea salt
- Other favorite toppings

5. Dip the Apples
Now comes the fun part.
Hold an apple by the stick and lower it into the melted caramel.
Tilt and rotate the apple as you dip so the caramel coats the surface evenly.
Lift the apple from the caramel and allow excess caramel to drip back into the pot.
If needed, use a spoon to help move caramel onto areas that aren't completely covered and scrape excess off the bottom.
Hold upside down for about 30 seconds while the matte sheen turns to gloss.
Place the dipped apple on parchment paper or a silicone mat.
How Thick Should the Caramel Coating Be?
Aim for a generous but manageable layer of caramel.
If the caramel is too thin, it may not provide the rich caramel flavor and texture you're looking for. If it's extremely thick, the apple can become difficult to eat or just slough off to the bottom.
The temperature of your caramel and apples will both affect the final coating.
If the caramel starts becoming too thick while you're dipping, gently rewarm it. We recommend using the microwave or warming the pan over low heat.
6. Add Your Favorite Toppings
You can enjoy caramel apples with just caramel, but toppings make them even more fun.
Add toppings while the caramel is still soft enough for them to stick.
Try:
- Chopped peanuts
- Pecans
- Walnuts
- Mini marshmallows
- Pretzels
- Sprinkles
- Chocolate chips
- Cookie pieces
- Toffee pieces
- Sea salt
- Crushed candy
- Coconut
For a gourmet caramel apple, drizzle the finished apple with melted milk, dark, or white chocolate.
You can also combine toppings for different flavors. Try chocolate and sea salt, caramel and pecans, or white chocolate and sprinkles.

7. Let the Caramel Set
Place your finished caramel apples on parchment paper or a silicone baking mat and allow the caramel to set.
If you want the caramel to set more quickly, place the apples in the refrigerator.
Once the caramel has set, they're ready to eat, decorate, package, or give as gifts.
How to Keep Caramel From Sliding Off Apples
One of the most common caramel apple problems is caramel that doesn't want to stay on the apple.
A few simple steps can help:
Make Sure the Apples Are Clean
Wax and residue on an apple's surface can make it harder for caramel to adhere.
Make Sure the Apples Are Completely Dry
Water and caramel don't mix well. Dry the apples thoroughly before dipping.
Why Is My Caramel Apple Bubbling?
Don't panic if you see a few bubbles near the stick.
The apple can release moisture through the puncture point, and that moisture may create bubbles underneath or around the caramel.
You may also get bubbles if you've stirred the caramel excessively.
For the smoothest appearance, stir the melted caramel as little as necessary while you're dipping.
Don't Overheat the Caramel
Very hot caramel can behave differently as it cools and may not give you the coating you're looking for.
Use a thermometer and aim for the recommended dipping temperature.
Avoid Extremely Cold Apples
Cold apples can help caramel set quickly, but they can also cool your caramel before you've finished coating the apple.
If you're having trouble getting a smooth coating, experiment with the apple temperature and caramel temperature until you find what works best for your setup.

How to Store Caramel Apples
Once your caramel apples are finished, store them according to your intended use.
Gygi recommends that caramel apples can be kept in the refrigerator for approximately one week. At room temperature, they're best enjoyed within 3–5 days.
If refrigerating your apples, allow them to come back toward room temperature before serving for the best texture.
For gifting, consider wrapping individual apples in clear cellophane bags and securing them with ribbon or a twist tie.
How to Cut a Caramel Apple
Caramel apples are delicious, but eating a whole one off the stick can be messy.
For easier serving, hold the apple by the stick and cut around it into sections.
If you've added toppings, cut through the toppings first and then the apple. This helps keep the toppings attached instead of pushing them off the caramel.
If the apples have been refrigerated, let them warm up somewhat before cutting.
Caramel Apple Checklist
Before you start dipping, make sure you have:
- Firm, clean apples
- Peter’s Caramel
- Caramel apple sticks
- A heavy-bottomed pot or microwave-safe bowl
- A thermometer
- Parchment paper or a silicone mat
- Toppings
- A little patience—and plenty of room for creativity
Final Thoughts
Making caramel apples at home doesn't have to be complicated.
With crisp apples, properly melted Peter’s Caramel, and a few simple techniques, you can make beautiful caramel apples for fall parties, Halloween, gifts, family gatherings, or an afternoon baking project.
The key is to start with clean, dry apples, melt your caramel gently, monitor the temperature, and avoid excessive stirring.
Once you've mastered the classic caramel apple, experiment with chocolate, nuts, pretzels, sea salt, sprinkles, and other toppings to create your own signature combination.
And don't forget: caramel apples don't have to be a once-a-year treat. Keep a loaf of Peter’s Caramel on hand, and you can make them whenever the craving strikes.