So you’re curious about pickling and water bath canning? Welcome to the club! It might sound like something your grandma used to do (and yeah, she totally did), but trust us—this is one of those wholesome, satisfying hobbies that’s actually way easier than it sounds. Honestly, why start crochet or birdwatching when you can start canning?
Whether you're dreaming of spicy pickled onions, crunchy dill cucumbers, or sweet summer peaches tucked into jars, we’re here to tell you: you do not need a bunch of fancy gadgets to get started. Seriously. You probably already have most of what you need in your kitchen. Let’s break it down together, step by step.

First: What Is Water Bath Canning?
Quick refresher: water bath canning is a method of preserving high-acid foods like jams, jellies, fruit, salsa, and pickles. It’s called "water bath" because you literally boil sealed jars in a big pot of water to kill any nasties and create a vacuum seal. Super simple science, zero stress. You can read more about it here!
So… What Do You Actually Need?
Alright, let’s talk tools. Here's your starter kit—and spoiler, it’s not much:
1. A Big Pot with a Lid
Yup. That giant stockpot you use for pasta? That works. As long as it’s deep enough to cover your jars with at least 1–2 inches of water. No need to buy a special “canner” unless you’re planning on going all in later. But for now, your stock pot will do!
2. A Rack (or a Hack)
You’ll need something to lift your jars slightly off the bottom of the pot, so they don’t rattle around and break. Official canning racks are great (like this one), but you can also use a silicone trivet, a folded kitchen towel, or even metal jar rings tied together if you are in DIY mode here.
3. Canning Jars with Two-Piece Lids
This is the only thing you really do need to buy if you don’t already have them. Mason jars with those two-piece lids (flat disc + screw band) are a must. Go for brands like Ball or Kerr, or any jars specifically made for canning. Just note, DO NOT reuse lids—they seal once, then they’re done!
4. Tongs or a Jar Lifter
Pulling boiling-hot jars out of a pot of water is not the time to wing it. If you don’t have a jar lifter (they’re like only $5–10), regular tongs can work—just wrap some rubber bands around the ends for a little extra grip.
5. A Funnel (Optional, But Amazing)
Not strictly required, but a wide-mouth funnel will save your sanity (and your counters) when ladling hot brine or jam into your jars. Trust us, it’s worth grabbing one.
6. A Ladle or Measuring Cup
Just something to scoop your hot liquids into the jars. Honestly, you’ve got this in your kitchen already. But if not, this is our favorite long-handle ladle for canning!
7. A Clean Dish Towel and a Space to Chill
After your jars are sealed, they need a quiet place to cool down for 12–24 hours. A folded towel on the counter works just fine. Bonus: hearing the “pop” of sealing lids is so satisfying.

That’s It—Seriously!
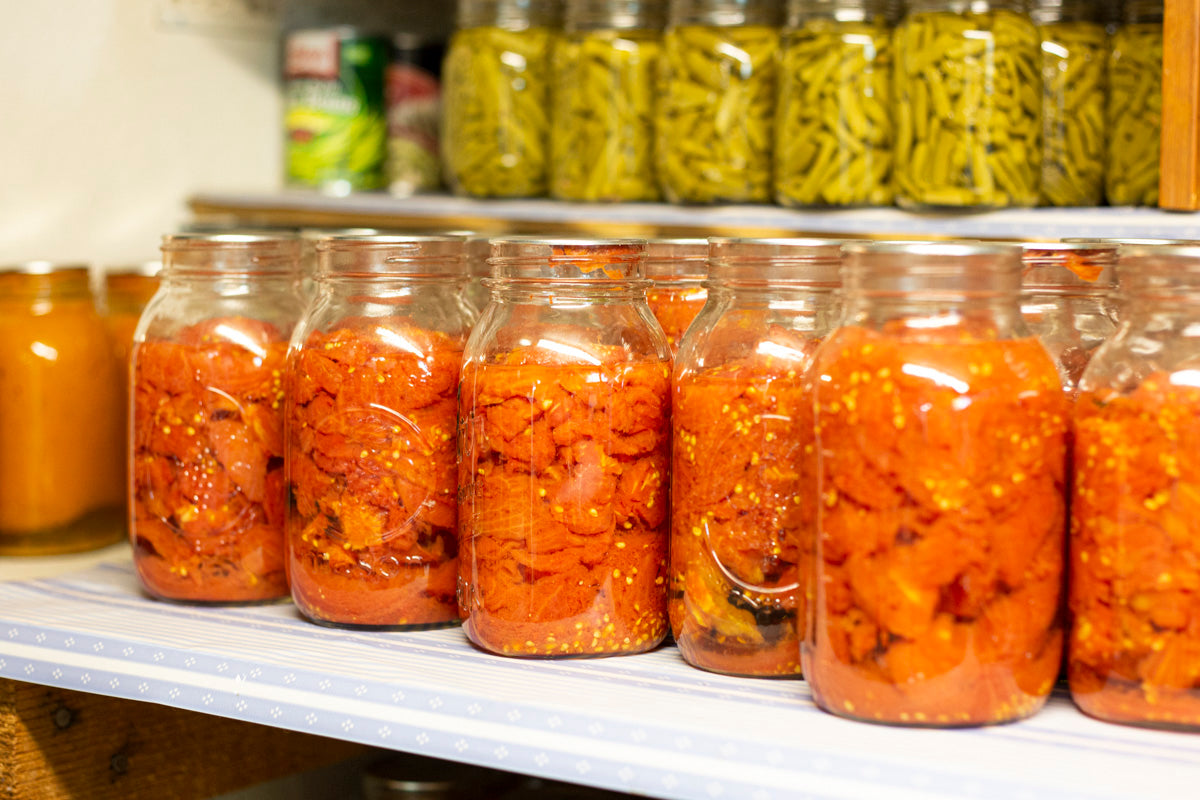
See? You don’t need a $200 starter kit or a homesteader’s pantry to start pickling and canning. With a few basic tools and a little curiosity, you’ll be stocking your shelves with homemade goodies in no time.
And hey—start small. Try a single batch of pickled red onions or a few jars of strawberry jam. You’ll be amazed how easy (and fun) it is to turn fresh produce into something that lasts all season long.

Ready to Jump In?
You've got this. And we are here cheering you on. Let us know how it goes! We’re always here to answer questions.
Happy Canning!


